Thursday, October 24, 2013

where bread illustrates mathematical error

When I last left you, I had two loaves worth of brioche dough left in the refrigerator. What is a girl to do?   Clearly the only option was to make up two more loaves!

Naturally, I had to pull out a single loaf of brioche.  A test, if you will.  The baseline. So I know what it tastes like without any fancy adornments. So two pounds of dough was removed, shaped, and dropped into a prepared pan for the rise.

This left me with a pound and a half of dough.  Quite the nice deal, this recipe.  It makes up enough for two fancy loaves of a pound and a half each and a two pound loaf of plain.  I had already made up the pumpkin loaf and wanted something a little more interesting.  Quickly flipping through the original Artisan Bread in 5 Minutes A Day turned up Chocolate Prune Bread.  Fantabulous!

So again, I dusted and pulled out my remaining pound and a half of dough and rolled it out to a half inch thick rectangle.  This is thicker than the Pumpkin Swirl Bread but there will be a lot more solid goods to be held by this rectangle!

1/2 inch thick brioche dough piled with 6 oz of bittersweet chocolate and 3/4 cup of chopped prunes
The directions were pretty clear at this point.  I was to roll the dough...

all rolled up and seam sealed

and then begin folding it up, turning between folds, and using the heel of my hand to press down.  Bits and pieces were to come out potentially and this was not to worry me.  It was all in the name of filling distribution.  Here, dear reader, is where geometry failed me.  I folded a few times.

see?  folded. And I even turned to get to this point

And I pressed a bit as well.  With my hand.  

and you can see where bits have made an appearance as it sits there in its greased and sugared pan, rising for 90 minutes under a loosely placed (and sprayed with canola oil) sheet of plastic wrap
Alas, there was not nearly enough turning.  And I can, in retrospect, see exactly how I created this tube of un-chunk-filled brioche running down the center of the loaf!

Picture the tube without the prune anomaly there in the middle.  All the goods were evenly distributed directly under the crust. 
But as you can see, I did not care!  It is one of the most delicious loaves I have ever had, much less created myself!  I will definitely be making this again, with ::ahem:: more folding and heel of hand pressing.  Anyway, 350F oven, for 40-50 minutes, remove from pan, allow to cool before cutting.  Bon appetit!

Sunday, October 20, 2013

let them eat brioche!

That's what Marie Antoinette actually said.  Brioche, that egg-n-butter enriched bread that apparently mistranslates to cake somewhere crossing the Channel.

A post by those awesome bread bakers over at Artisan Bread in Five Minutes A Day hit my feed with a recipe I could not resist.  Pumpkin Swirl Bread.  So, friends, here goes.  What you are about to see is not pretty.  But it was darn near polished off by 4 people in 24 hours.  There is a bare heel left for me for tomorrow with my tea!


I started off with the Whole Wheat Brioche from Healthy Bread in Five Minutes A Day.  This required some forethought on my account because the enriched dough needs to be refrigerated for 2 hours minimum.  I went with overnight.  And while we are talking about my deviations, I also used two egg beater servings (1/4 cup each) in place of two of the eggs and canola oil instead of butter.  The dough seems none the worse for it.  At any rate, whatever brioche you use, you will need 1 1/2 lbs of it.
Filling!  1/2 cup pumpkin puree,  1/4 cup brown sugar, and 1 1/2  tsp pumpkin pie spice.

Take your pound and a half and roll it out to a rectangle, 1/4 inch thick.  Yes, I got a ruler.  Yes, that's as rectangular as I'm gonna get rolling out bread dough!
Spread filling and roll it up tight and pinch the seam to seal it up.  This is messy, folks.  You will be licking spiced and sugared pumpkin puree off your fingers when you are done (she says this like it's a bad thing!)
So far so good, right?  Here's where it all really starts to fall apart!

You know those cute photos of easy-to-make, pretty things on Pinterest?  Yeah.  Cut your jelly roll of brioche dough and pumpkin mess into ten equal pieces.  Somehow, this looks a lot less like their photo and a lot more like something that flew through the air and stuck to a Spock in Star Trek episode 29, Operation:  Annihilate!  ::ahem::
Nonetheless, I trudged on, placing six pieces facing outwards along the sides of the pan and the remaining four on top.  The hope was that they would rise to the challenge and glue themselves together.
After ninety minutes...
And after 50 minutes in a 350F oven!
So, while nowhere near as pretty as the nice people who make a living doing it, the Pumpkin Swirl Brioche was every bit as tasty as I hoped!  And its adorable, cinnamon roll meets bread pan look gives me ideas for other things!  And as for looks, I have this sneaking suspicion that somewhere between rolling the dough up and cutting it into ten parts, there was some refrigeration time to firm the whole thing back up.  I may try that on my own next time.

If you make this, please include photos in your comments!

Monday, May 6, 2013

ham it up

Deviled Ham might be the witch's cauldron of pasty meats, but as it is my first foray into the genre, I may find they are all like this!  Faced with a significant chunk of leftover spiral ham and a sudden desire for this odd spread most people only eat on a dare, I scoured the internet for recipes.  After the first half dozen, I realized it comes down to this:

about 2 cups of diced ham
a scant quarter cup of mayo
a healthy squeeze of mustard
a few spoonfuls of something pickled
a quarter of an onion, coursely chopped
1/2 tsp paprika
a few dashes of hot sauce
a pinch of cayenne
salt, pepper to taste

Optional items range from maple syrup to horseradish and include Worcestershire Sauce, white vinegar, chopped bell pepper, caraway seeds, coriander seed, mustard powder in addition to prepared mustard, smoked paprika, unsalted butter in lieu of mayonnaise...as you can see, an eye of newt would not be out of the question in this recipe!

I opted to use real mayonnaise over Miracle Whip, dijon mustard (you can see how varying the mustards would significantly change the taste), capers for my pickle (other options were dill, bread and butter, and sweet relish, so sky's the limit here) and red onion (shallots?  white onion?  vidalias?  leaks???).  I also added  some smoked hot paprika.

Experiment and share!


For days, I couldn't walk by the refrigerator without grabbing a bit on a cracker!


sweet surprise

When Marissa McClellan of Food in Jars fame says something is good, I tend to believe her.  I do have to admit that I looked at her Canteloupe Jam with Vanilla with a raised eyebrow so that, and the fact that I had a melon in the refrigerator that was harder than anyone in my family wanted to eat, meant it had to be tried.   A quick glance in the Narnia I call my pantry turned up a vanilla bean and I was off!

I am hotlinking the recipe to an online newspaper article about her fabulous book, which I really suggest you either buy.  At least check it out of the library for a test run!  I know hot linking is typically frowned upon but in this case, the newspaper has permission from Ms McClellan to publish her recipe and I do not, so in the interests of getting you to the recipe legally, there it is.  And it is not widely available in multiple forms over the internet so...

Seeded and chopped, I dumped the melon into my biggest stock pot - it never pays to have hot sugar glomming up the top of your stove and spraying onto your arms - with sugar, vanilla bean scrapings, and the pod itself and cooked it as directed for 8 to 10 minutes.   

All went swimmingly well and when it says "until the bubbles look thick"...well, they really did, so that is a valuable marker.  I used exactly 2 1/2 cups of melon and somehow ended up with two 8oz jars instead of three, but they taste like a really sophisticated childhood sweet.  Definitely one to make again.


all the usual suspects in the pot


the delightful outcome

Tuesday, February 26, 2013

One, Two, Three!

Limoncello...it's as easy as

5 Meyer Lemons plus one orange

Rind peeled & pithed off, citrus juiced, 3/4 cup simple syrup

Plus 3 cups of vodka
and voila!  Limoncello!  Wait several weeks, add more simple syrup to taste, enjoy!

Thursday, February 7, 2013

Pucker Up, Sunshine!

It's kumquat season!  You know, that tiny little fruit you pop in your mouth for a burst of sweet and sour and seed spitting?  Yum!

I picked up a couple of pints at the store this week and after trying them out on my unsuspecting sons (they loved them), trawled the internetz for ways to preserve these little beauties.  Apparently, you can pickle anything!

I borrowed this recipe from vanillagarlic, making my own modifications because really?  Who has cardamom pods in their pantry without prior planning.  I promise, I have a ridiculous spice cabinet.  Especially for someone who moves as often as we do.  But I will have to add the pods.  Apparently, 10 pods equals about a teaspoon of ground cardomom, so we're good.  If you need pods, or even cardomom, I highly recommend the wonderful folks at Savory Spice Shop, based in Colorado with franchises popping up all over the place.  But I digress.

finished product


Pickled Kumquats
(2 pint jars of pickle)

2 pints of kumquats, (about 4 cups), halved with seeds popped out as you can reach them.
1 tsp kosher salt
3 cups white vinegar
1 cup sugar
4 cardamom pods (or about 1/4 tsp ground cardamom)
5 whole cloves
6 black peppercorns
1 tsp ground ginger
1 cinnamon stick, broken in half

Sterilize two pint size canning jars in a small-batch canning pot full of boiling water, place your lids in another small pot with a few ladles of the boiling canning water to soften the seals, arrange your canning equipment for easy access (funnel, towel, little magnetic stick thingie to pick up the lids from the hot water, rings, jar grabber, damp paper towel to wipe the jar before placing the lid, timer, ladle).

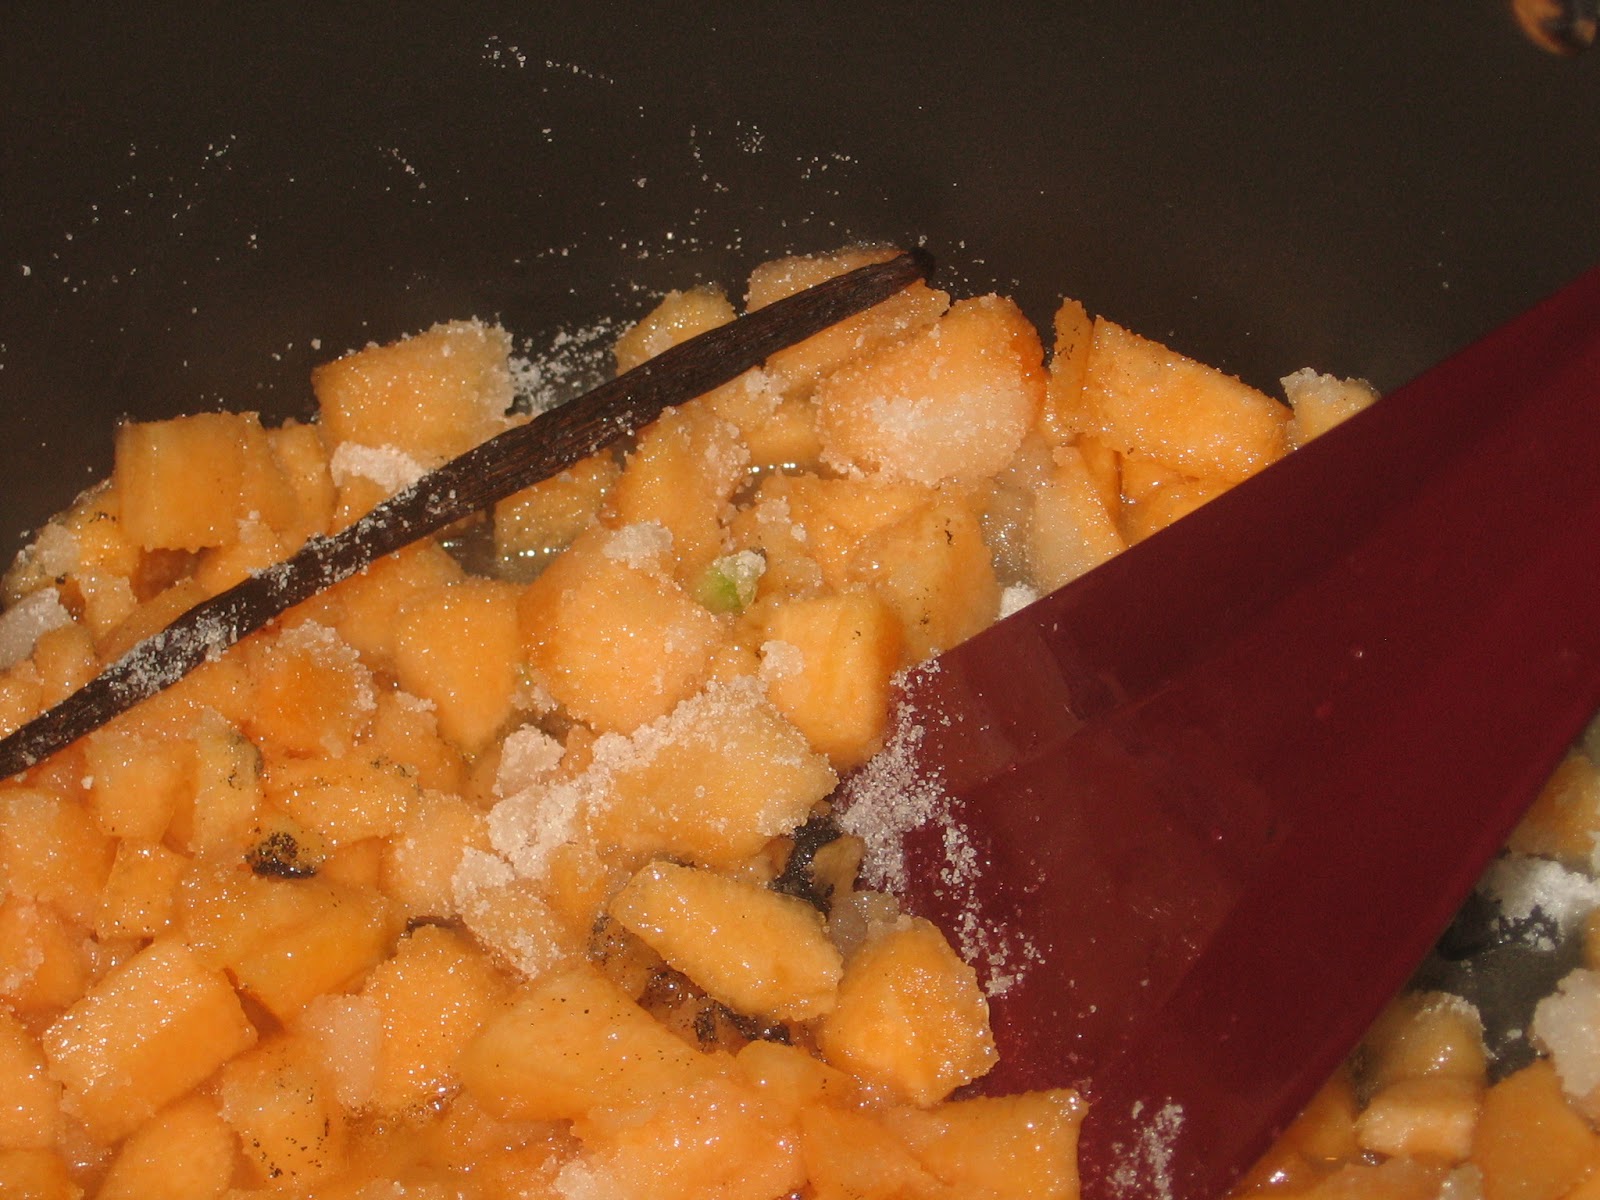
After prepping your kumquats, a surprisingly easy task, place them in a 4 quart saucepan, cover with water, add salt, and bring to a boil.  Cover and simmer for 5 minutes while you get your spices together.  Drain and set aside.

Add the vinegar, sugar, and spices to the pan and bring the mixture to a boil.  Add the kumquats back to the pan and simmer for one minute.

Ladle the kumquats into sterilized jars.  Be sure the fruit is fully immersed in the liquid, leaving 1/2 inch head space.  Lid, ring, and process for 10 minutes in the canner.  Remove the canner from the heat and take off the lid of the pot for about 5 minutes, then remove the jars from the canner.

Any extras that did not fit in your two pint jars should be cool enough to eat now!  Warning:  Don't breath in with the pickling liquid in your mouth.  You will cough!